Create a Custom Application to Connect Mindstamp to Shopify
Prerequisites
In order to start using the Shopify <> Mindstamp integration, you will first need an active Shopify store. You will also need administrative access to the store. With both of these things, connecting your store to Mindstamp can be done quickly and easily.
Getting Started
Below we will walk through how to connect your Mindstamp account to your Shopify store. The process requires you to create a custom application and install it to your store.
Connecting Shopify to Mindstamp
In order to connect your Mindstamp account to Shopify, you will need to go to Account > Integrations in your Mindstamp account.
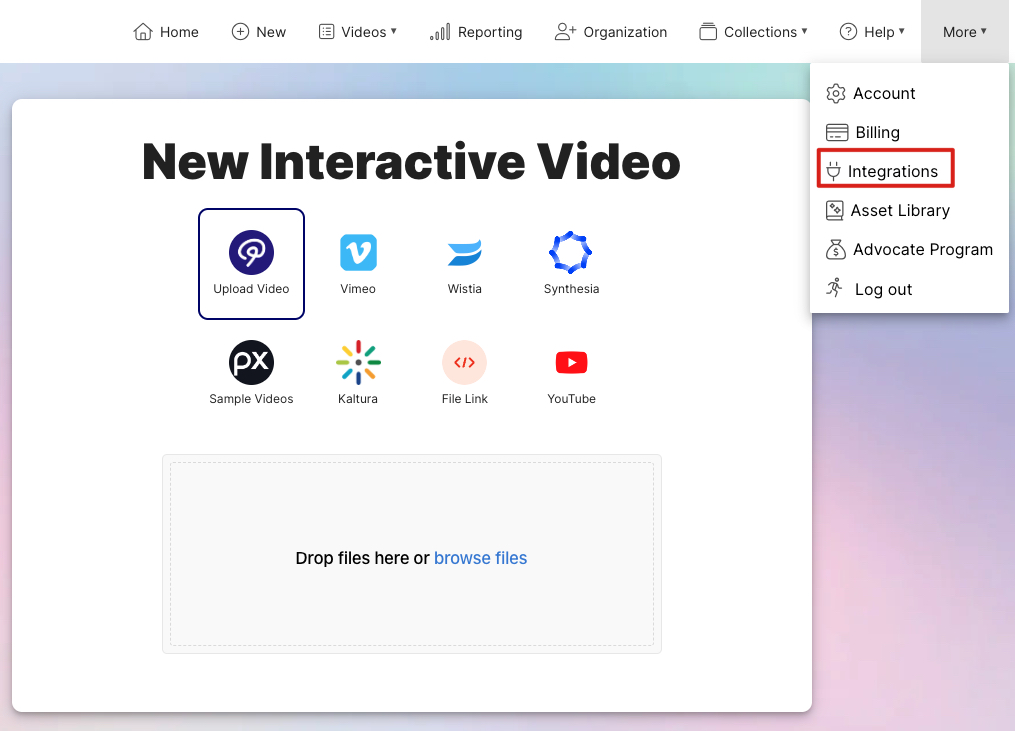
Navigating to Mindstamp Integrations Page
From the Integrations page, you will need to select the Shopify integration and select "Connect."

Connect To Shopify
After clicking "Connect," you will see fields for your Shopify URL and you Storefront API access token. Both of these items can be found on you Shopify Admin Dashboard.
First, we will need to go to "Settings" in your Shopify Admin Dashboard.
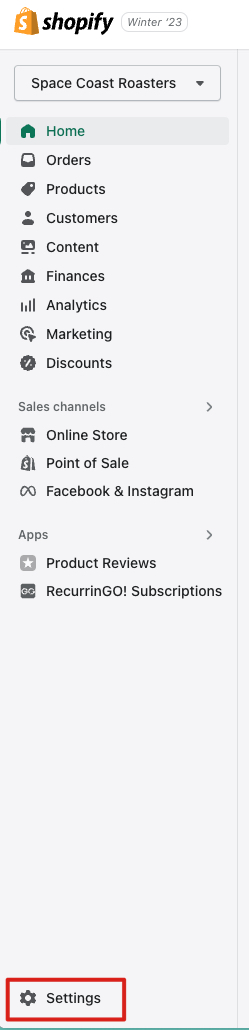
Shopify Admin Settings
From the Settings page, you can select "Domains" to find your Shopify site URL. In order to connect to Mindstamp, you will need your site that ends in "myshopify.com." Make note of one of the domains ending in "myshopify.com" because we will need it soon.
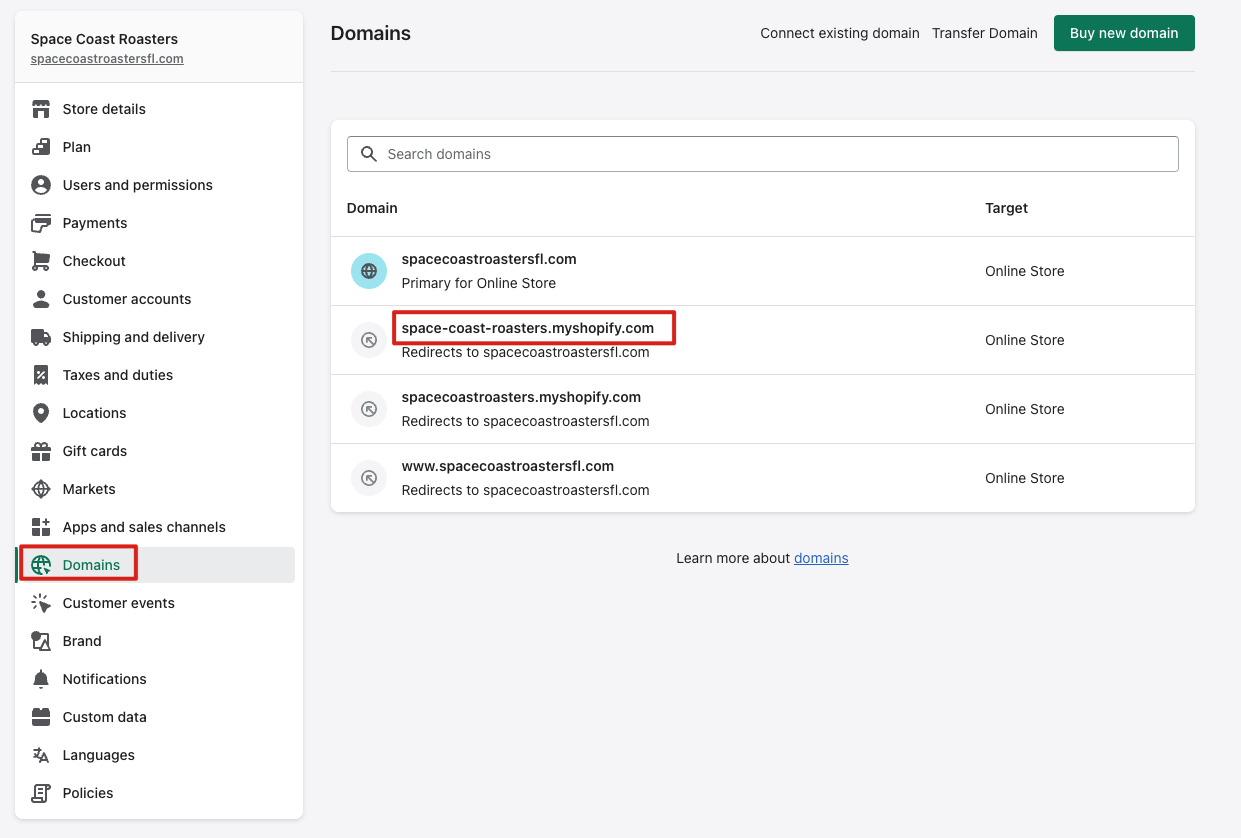
Getting MyShopify Domain
Next, we can go to "Apps and sales channels" to create a new application. From this page, select "Develop apps."
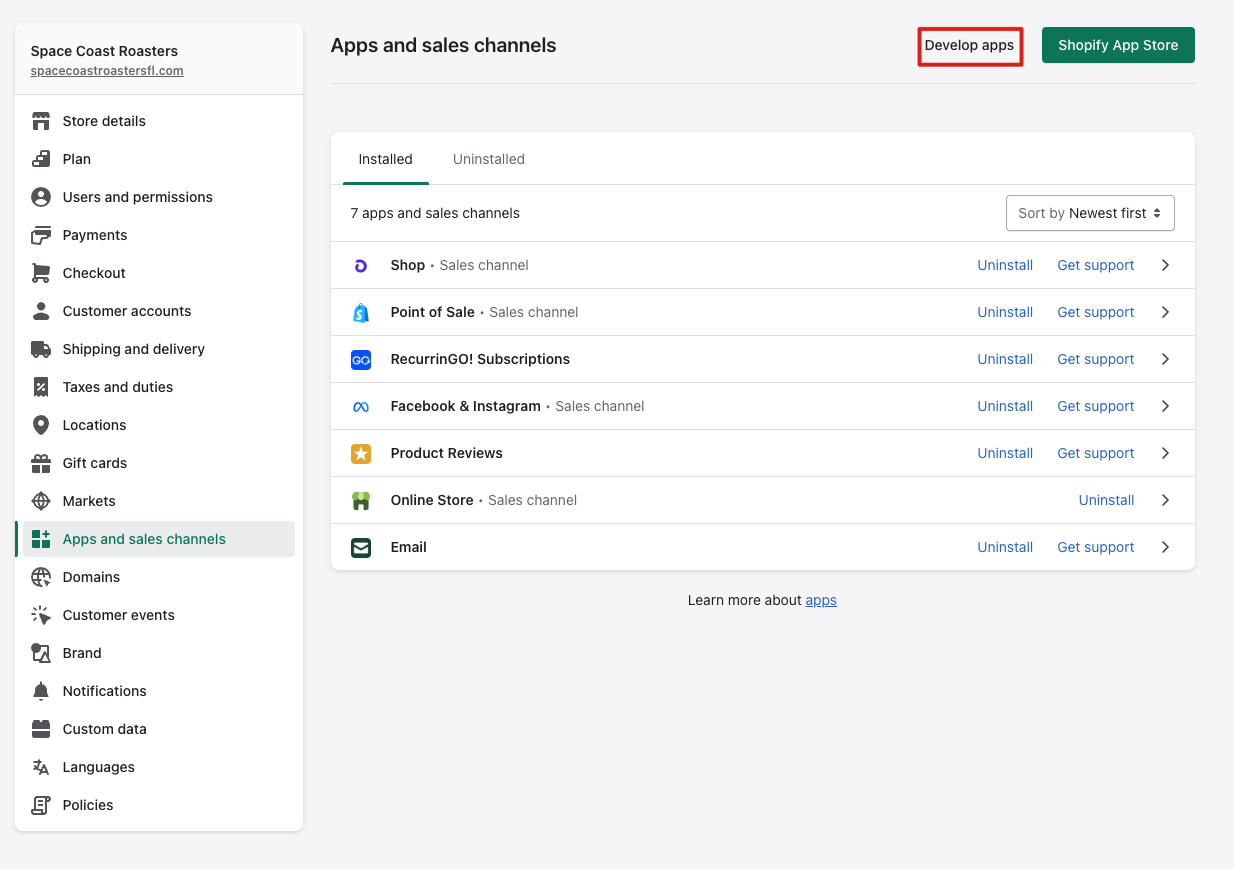
Develop a New App
After clicking "Develop apps" you will be taken to a new window where you can click "Create an app."
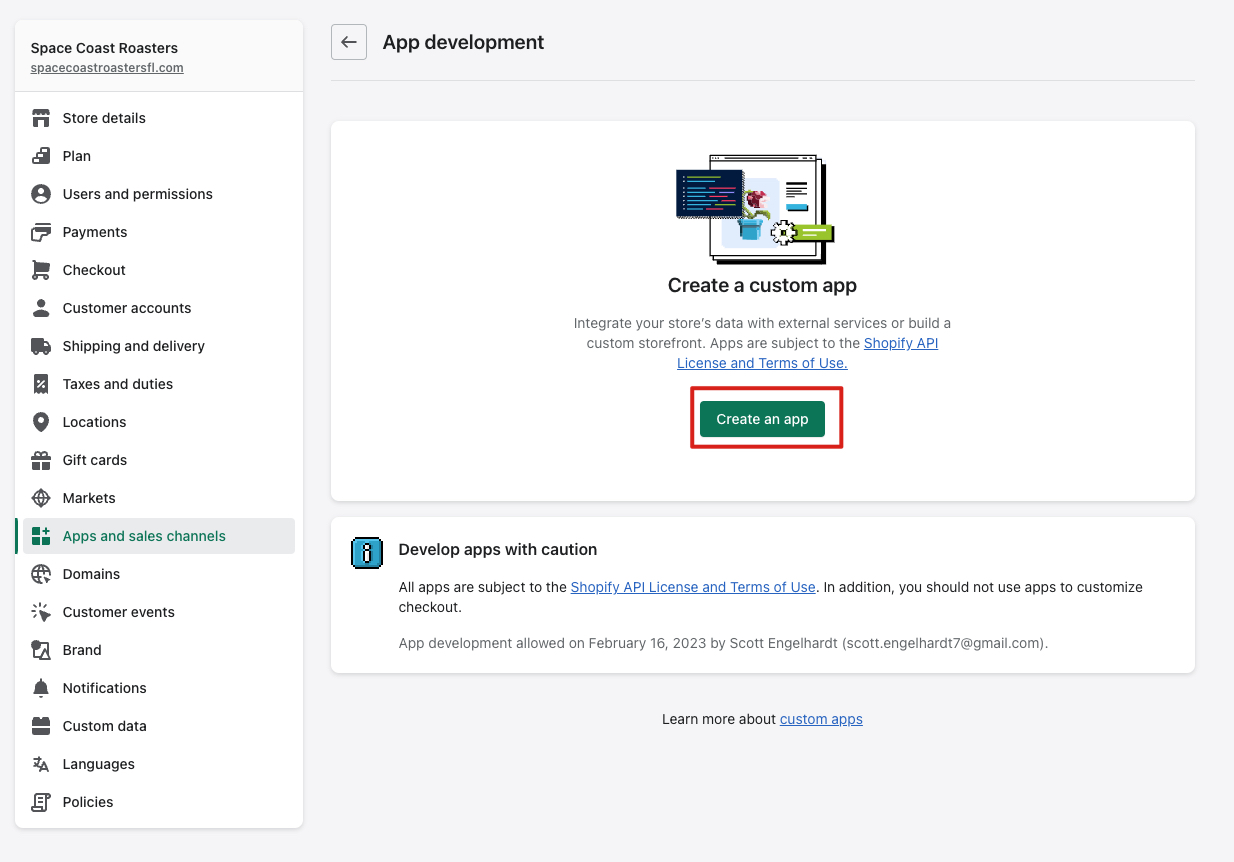
Create an App
You will then be prompted to provide a name. This name doesn't really matter, but for this demonstration, you can call it "Mindstamp" and click "Create App."
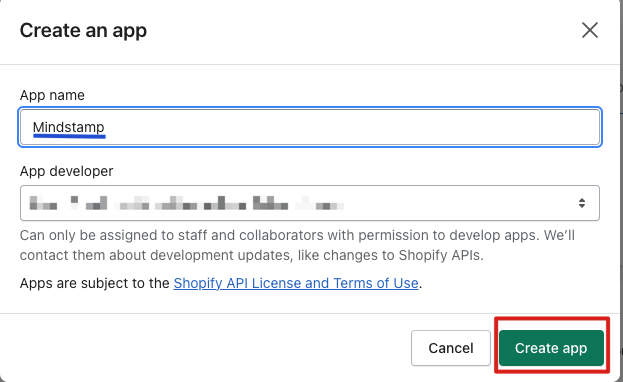
Name the App
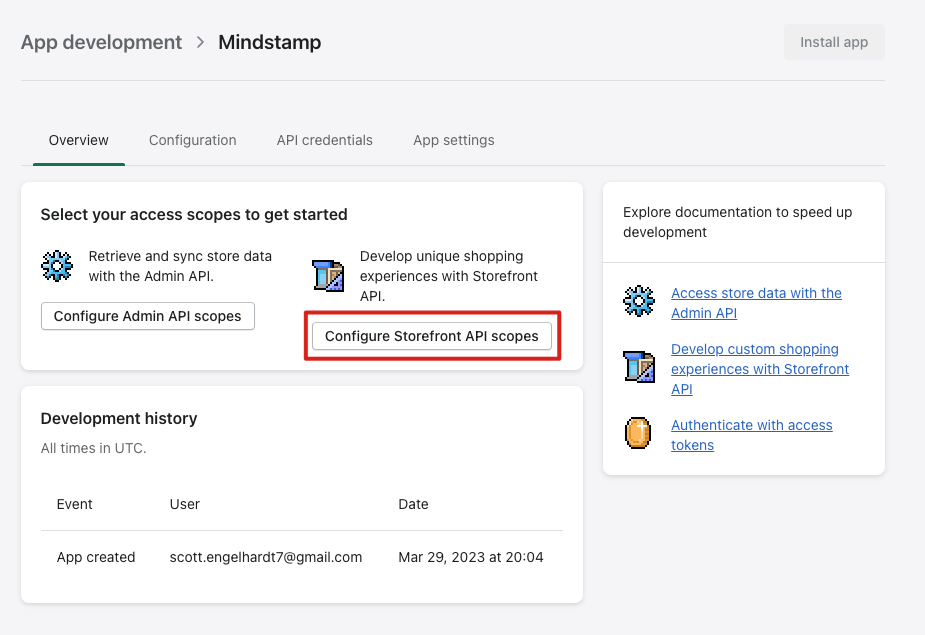
After creating the app, you will need to update the Storefront API access scopes by clicking "Configure Storefront API scopes."
The scopes that need to be updated are unauthenticated_write_checkouts, unauthenticated_read_checkouts, and unauthenticated_read_product_listings. Once checked, click "Save"
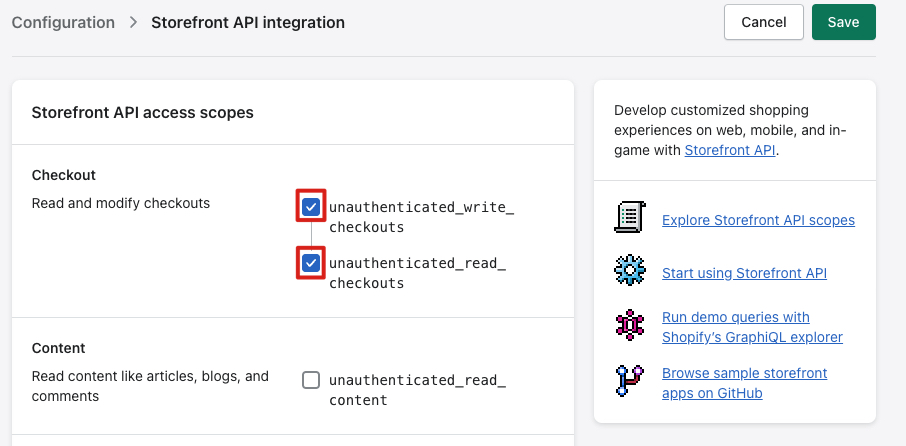
Checkout Scope
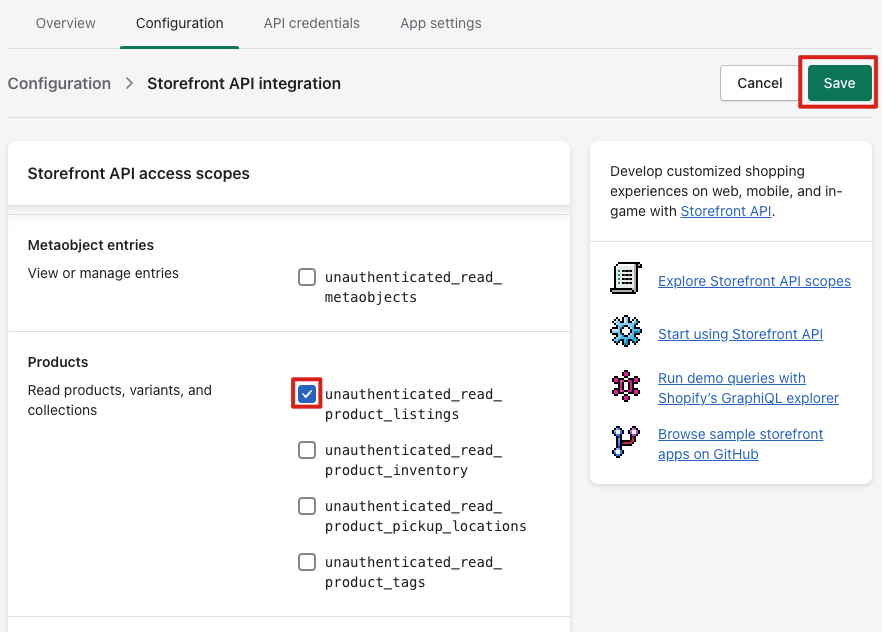
Products Scope
After saving the scopes, you can install the app by clicking "Install app".

Install App
After clicking "Install app" you will need to confirm by clicking "Install".
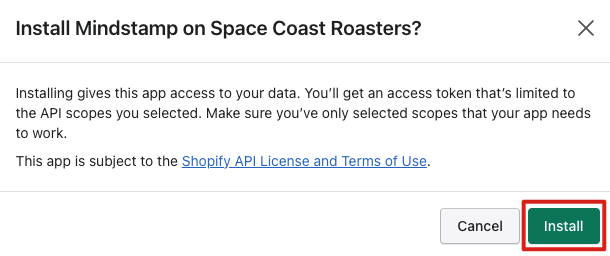
Confirm Installation
Next, we will see the Storefront Access Token needed for Mindstamp. You can click on the clipboard to copy your token.

Copying Storefront API Access Token
You are now done with Shopify and can go back to Mindstamp where you can enter your myshopify domain and you access token from Shopify.
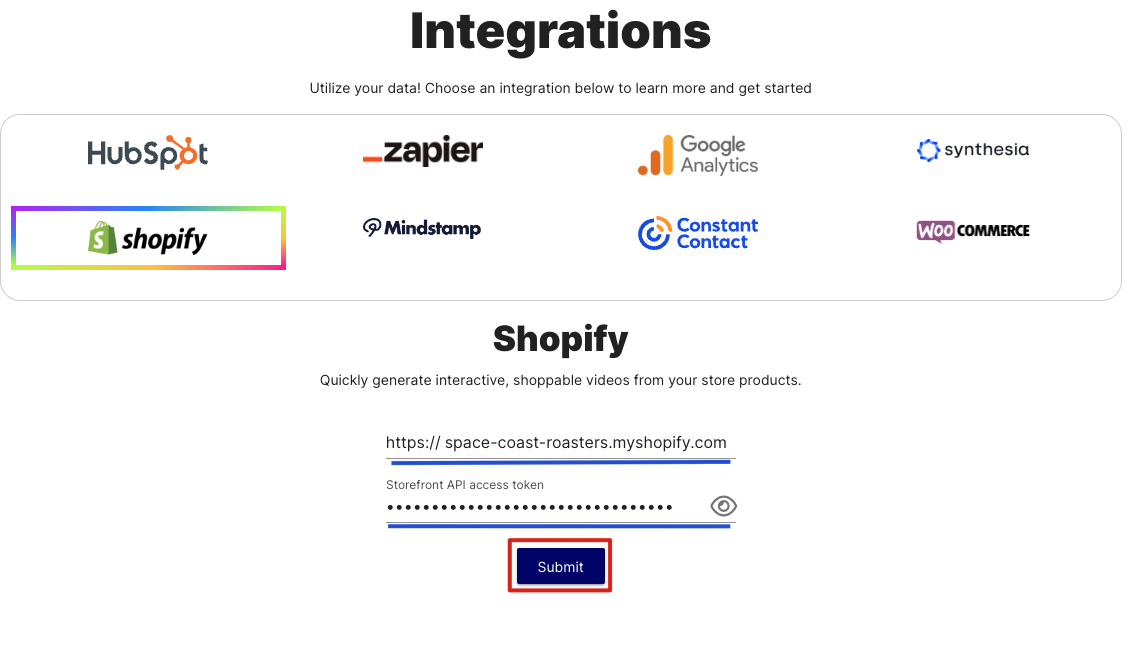
Connecting to Shopify
After clicking "Submit," you will see that you are now connected to Shopify as shown by the "Re-Connect" button.
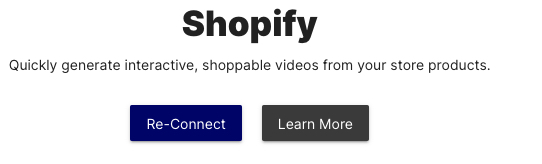
Shopify Connected
Need help or want to know more about using Shopify with Mindstamp? We're here for you! Contact [email protected] to learn more