Summary
In this step, we will configure Lead, Contact, and Custom objects to display mindstamp views and interactions.
Edit Lead/Contact/Custom Object Page
To edit the layout of your object pages, go to the Sales page within Salesforce. You can click the 9-dot menu and search for 'Sales'.
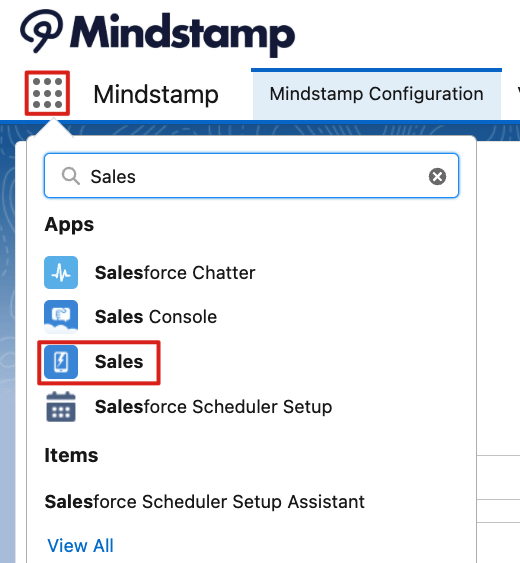
Sales Page
To update the standard layout, go to Lead tab (or Contact or Custom Object) and select any lead.
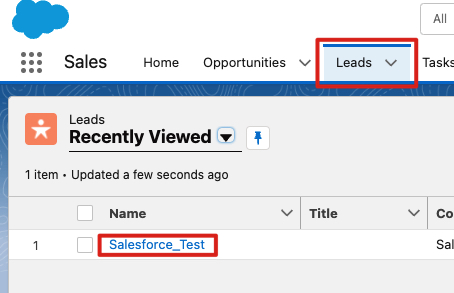
Select Lead
In the top right of this page, select the gear in the top right and select 'Edit Page'.
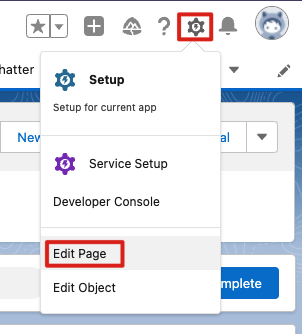
Edit Page
Add the Related List - Single Component
Then, on the left hand pane, search 'Related List' for 'Related List - Single'.
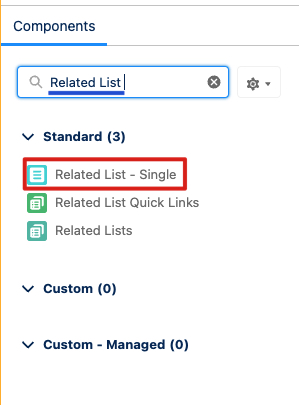
Related List - Single
You will then need to drag 'Related List - Single' to the middle of the screen under Activity to add it to your view.
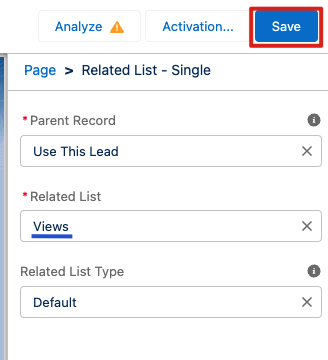
Related List to Views
After entering 'Views' into the Related List, repeat this process for Interactions if desired.
Activate The Page
Once those components are added, you need to Activate the page and determine if you want that to be the organization default.
Once the Related List items are added to the Page Layout, you need to populate them by going to Setup and Object Manager.
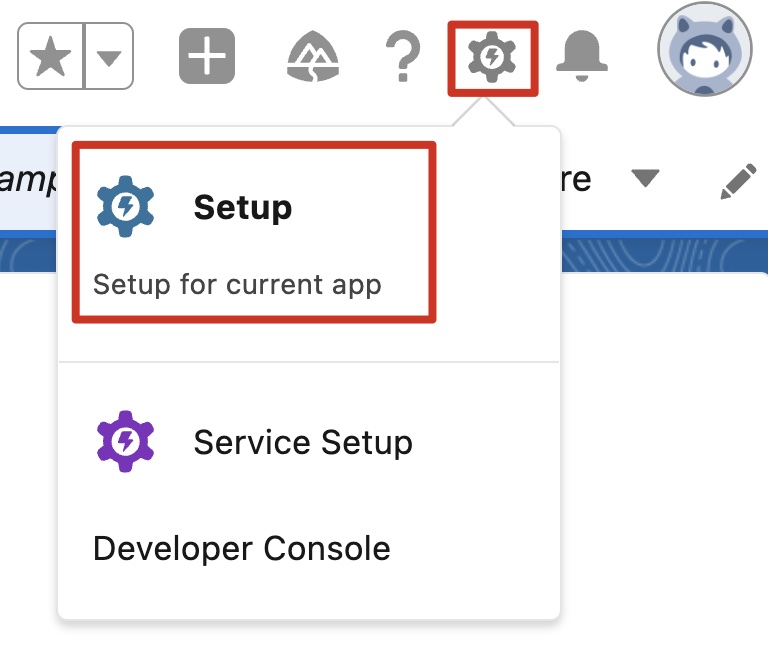
Setup
Open the Lead Object.

Lead Object
Select Page Layout then Lead Layout.
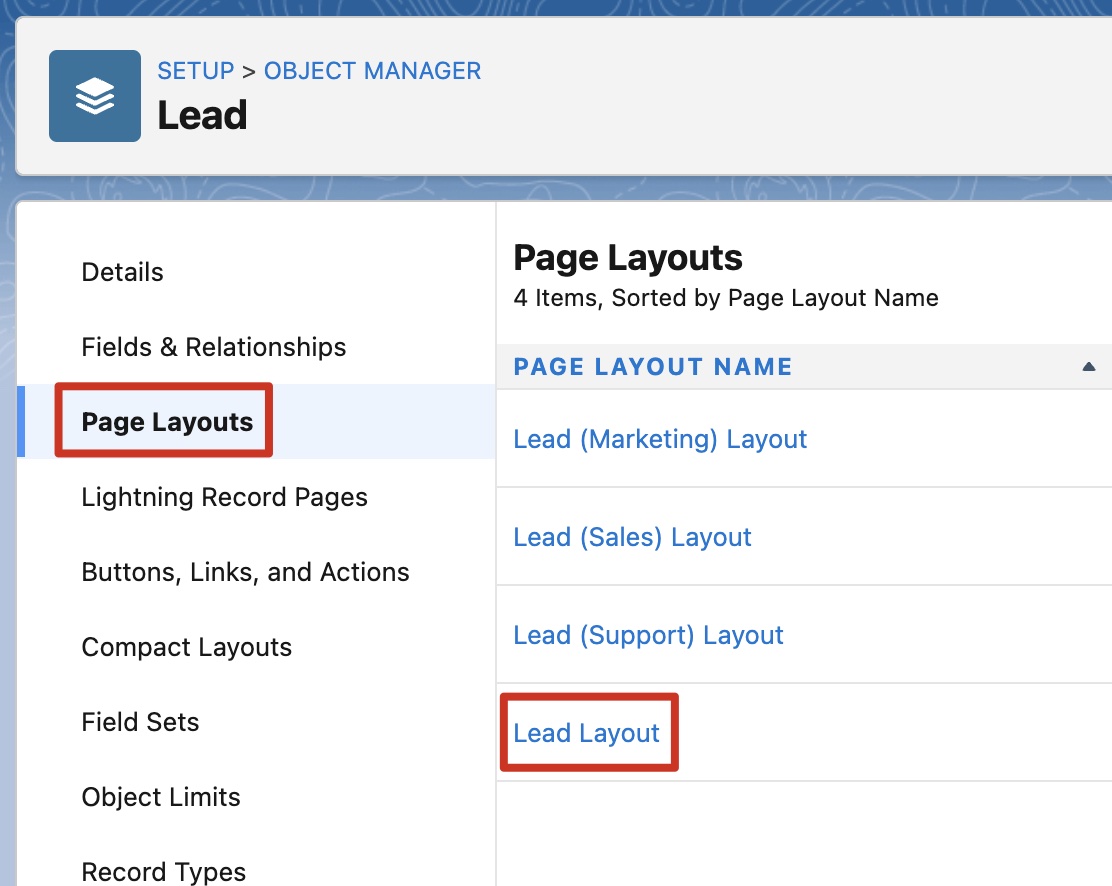
Lead Layout
At the top, select Related Lists and drag the Mindstamp Views and Interactions (if both were added to the Page Layout) down into the Related Lists section of the page. You can also change the default fields displayed on the page by clicking on the wrench. Make sure you Save the configuration.
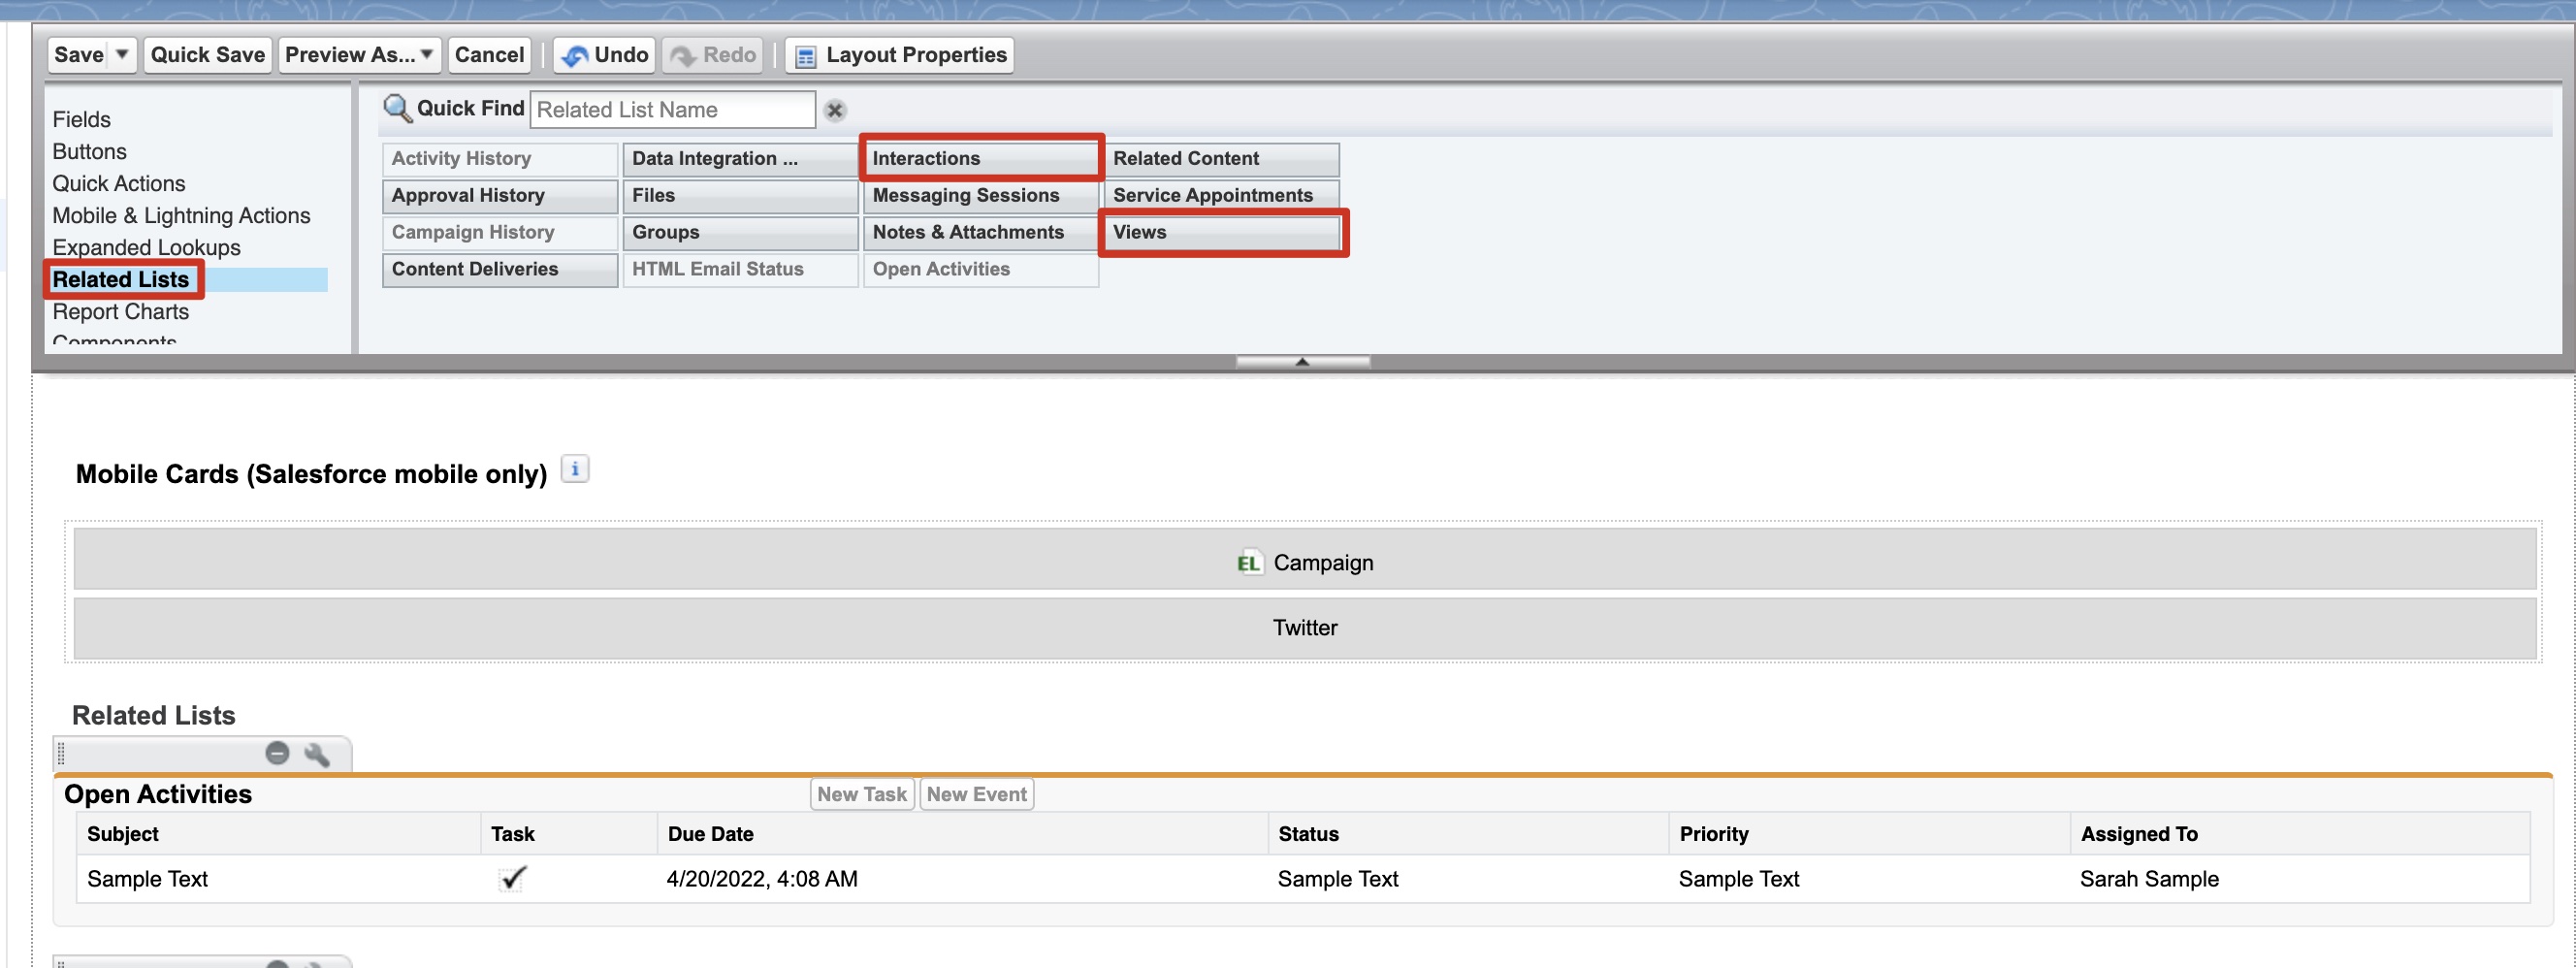
Before

After
Once complete, you can repeat this entire step for Lead, Contact, or Custom Viewer Object depending on what you did in this step.
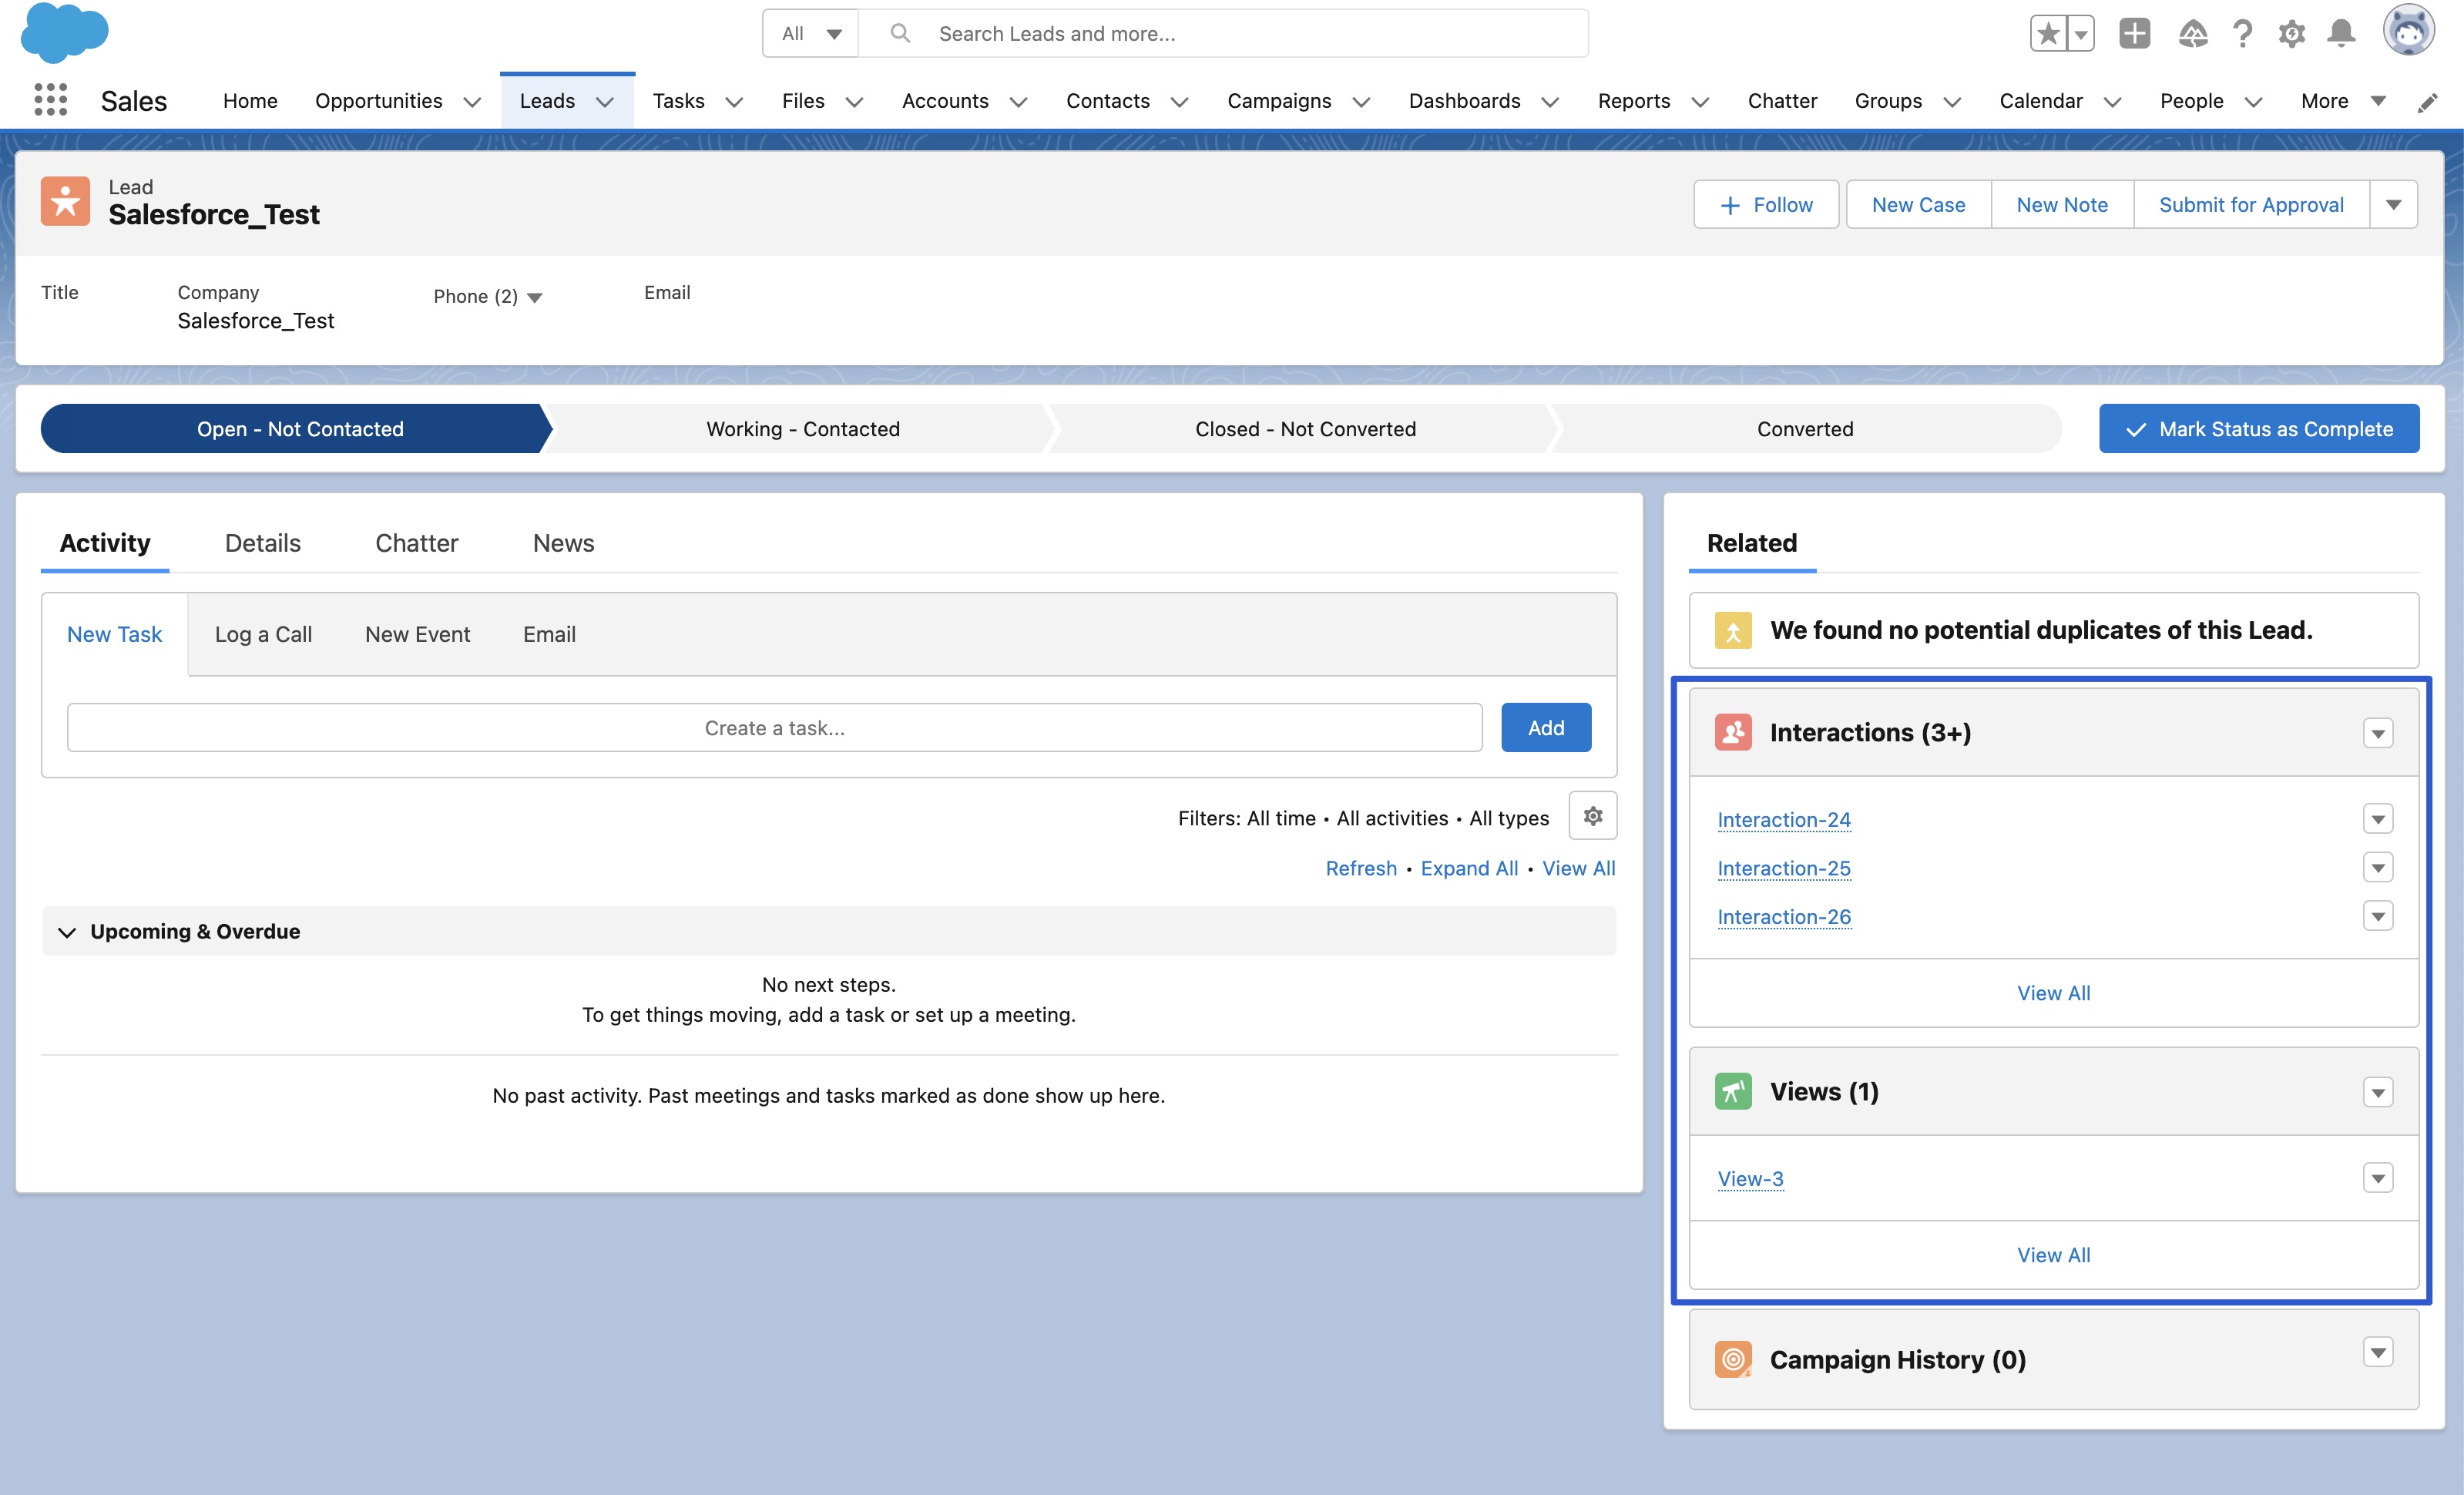
Views and Interactions
You will now see the Views and Interactions for each object as shown above.
Get in Touch
If you have additional questions regarding this setup, please contact us at [email protected].